
Group chats (desktop)
Setting up a group chat on desktop
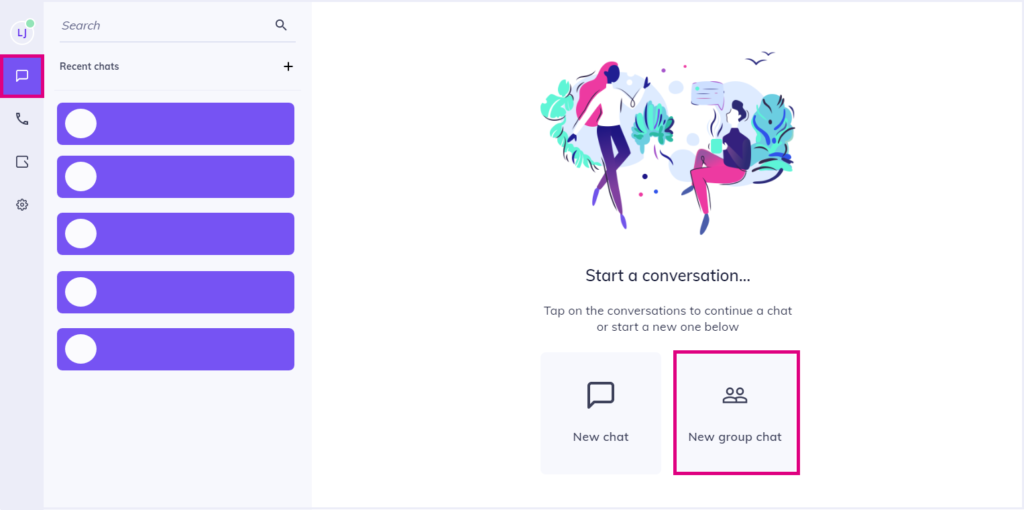
Click on your chat icon to open your chat screen, then click ‘New group chat’.
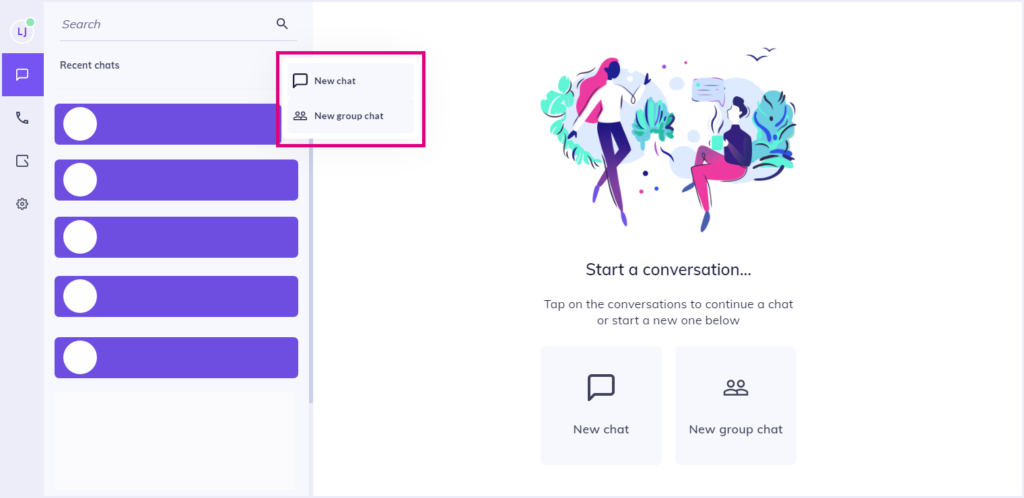
Or click the ‘+’ symbol next to ‘Recent chats’ and select ‘New group chat’:
Adding participants
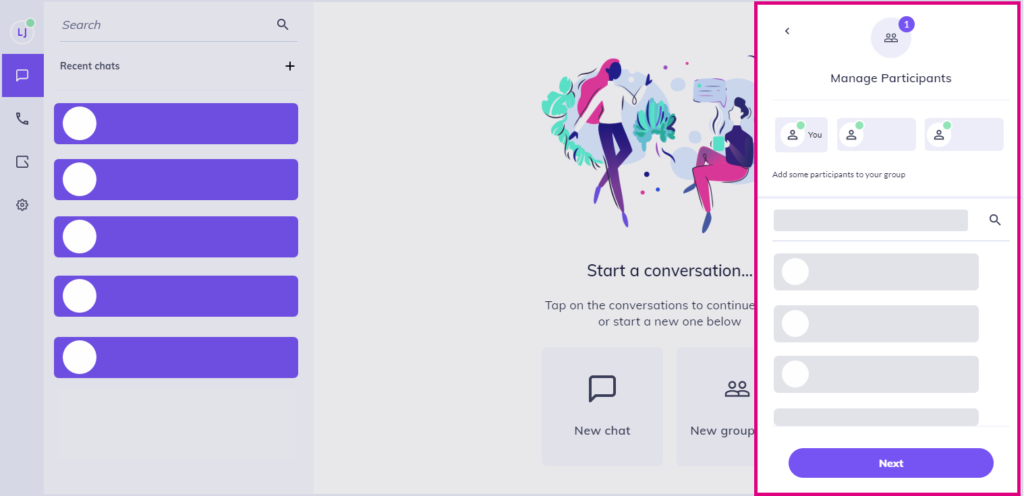
Type in the names of any Horizon Collaborate users you wish to add to the group chat, then click their account name from the search results that appear. Their names will begin to populate under ‘Manage Participants’. To remove any added users that you have added here, simply right-click their name. Click ‘Next’ when you’re done.
Naming your group chat
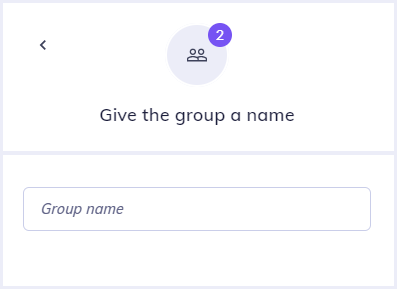
Type in the name of your new group chat then click ‘Create group’. You’ll then be taken to your group chat screen where you can start a conversation with its participants.
Managing participants
At the top of your group chat screen, you will see your chat’s name and the list of its participants. Click this to edit your group chat.
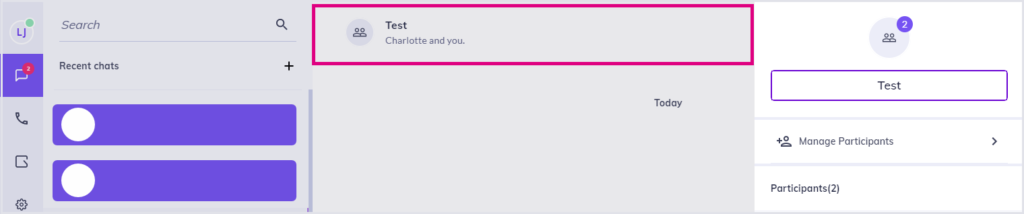
- Click ‘Manage Participants’ to add other Horizon Collaborate users to the group chat.
- Your chat’s active participants are listed under ‘Participants’.
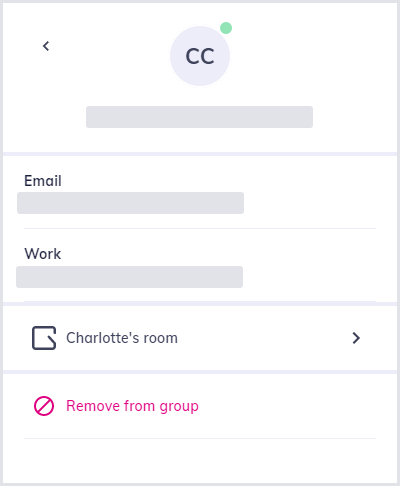
- Click on an active participant’s name to view their personal profile. From here you can view the user’s email, access (or request access to) their room, and remove them from the group:
Changing the name of your group chat
Highlight the name of your group and, while highlighted, type the new group name to override it. This will save automatically.

Once a group chat is created, it can be accessed from your ‘Recent chats’ screen.
How are we doing?
Did you find the training on this page useful? Let us know by giving us a thumbs up/down below. To give us more detailed feedback on the content you would like to see here please visit the Horizon Collaborate Knowledge Base feedback form.